Creating Projects
To create your first Project, use the Design | New project menu item. If this is the very first time you have launched the studio, you may see a Getting Started screen like the one below:
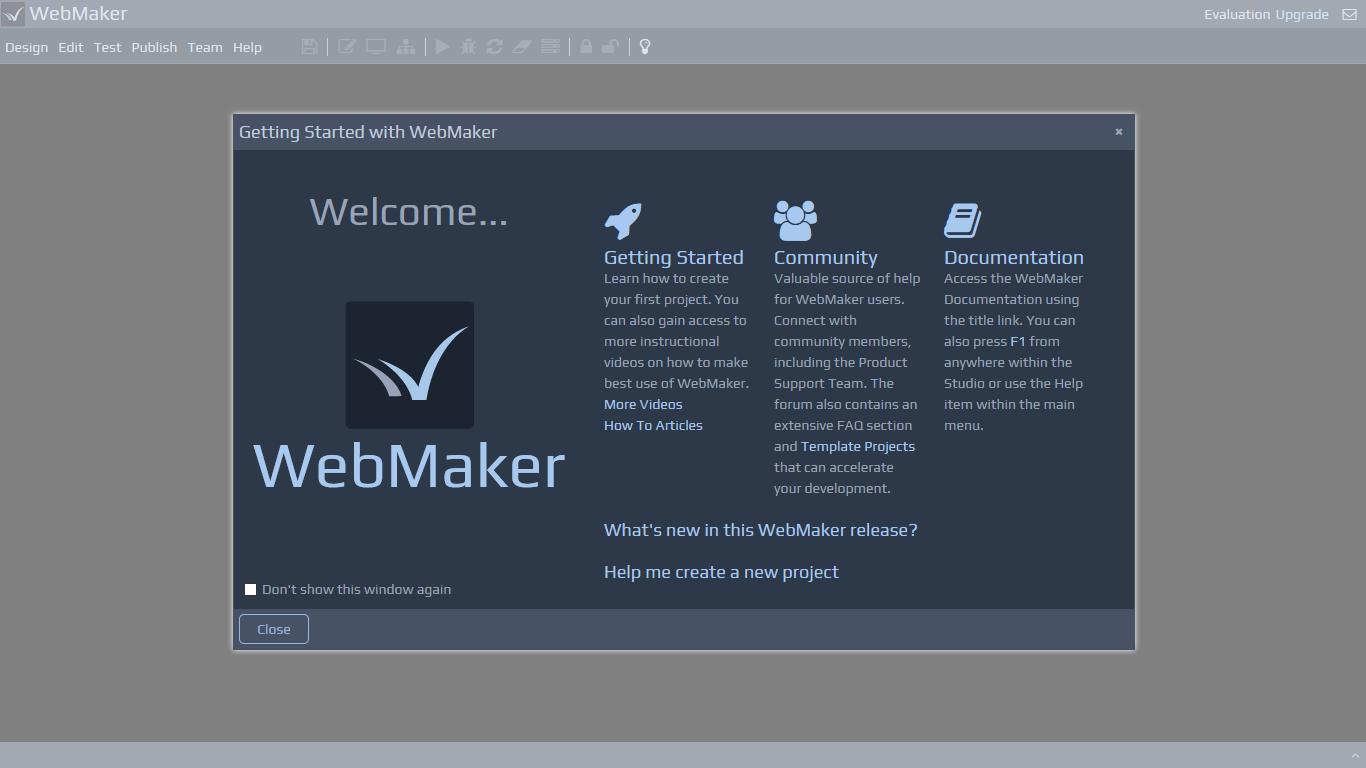 The 'Getting Started' dialogue contains links to useful resources, including the WebMaker Forum. You can access this dialogue at any time using the Help | Getting Started menu item.
You can either use the Help me create a new project link or close this dialogue and select the Design | New project menu item. Using either option will open the New Project dialogue to help you get started with your first project.
The 'Getting Started' dialogue contains links to useful resources, including the WebMaker Forum. You can access this dialogue at any time using the Help | Getting Started menu item.
You can either use the Help me create a new project link or close this dialogue and select the Design | New project menu item. Using either option will open the New Project dialogue to help you get started with your first project.
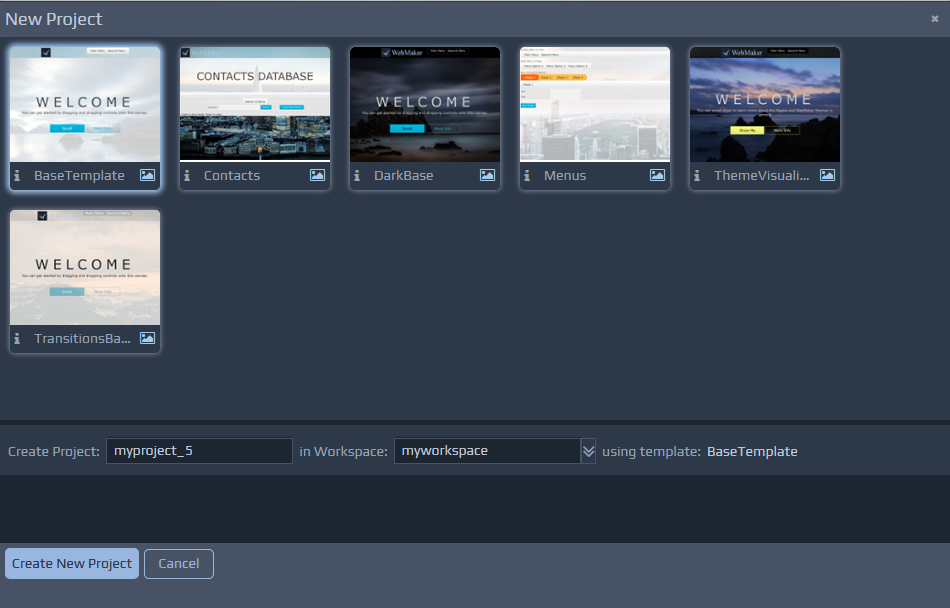 You will notice that the project is based on a template. If you click any of the templates you should see the name of the base template, upon which this project will be based, changing. You can see any additional screen shots for templates by clicking the picture icon on the template thumbnail and also obtain additional information about the template by hovering over the i info icon. During the creation process, you will also see a default workspace name, which you can change if required.
Managing Projects and Workspaces
You can use the various options available under the Design menu to undertake specific project management actions, including create, delete, copy, import, export, etc.
You can also use the Workspace Management option within the Design menu to perform a whole range project and workspace management operations, including renaming projects and workspaces.
Renaming and Moving Projects
In addition to the Workspace Management option within the Design menu item, you can also double-click on an open project name on the top info strip to rename it. You can also move it to a different workspace by double-clicking the workspace name.
 The top bar of the Studio will also indicate whether your project is checked in or checked out. If you have defined a Team Server under the Team menu item, you will see two additional icons showing the connection status of the Team Server and also your role for the currently open project. More detailed information on Source Control and the Team Server is available later in this guide.
Main Menu and Toolbar
You can access the core WebMaker functionality from the Menu and Toolbar to create, test and publish your web applications. We will cover many of these items as we progress through the documentation.
Customising the Toolbar
You can customise the appearance and grouping of the icons on the toolbar to suit your requirements by using the Edit | Preferences menu option and selecting the Toolbar link.
Importing and Exporting Projects
You can export your WebMaker project using the Design | Export option. This will package and save a copy of your project in a .zip file which you can import in future. The Export feature is useful for ad-hoc sharing, archiving, backups and distribution.
You can Import projects that have been previously exported. You can use the links to either select a .zip file that contains a previously exported project or locate the unzipped project directory structure, containing a file exported_project.xml.
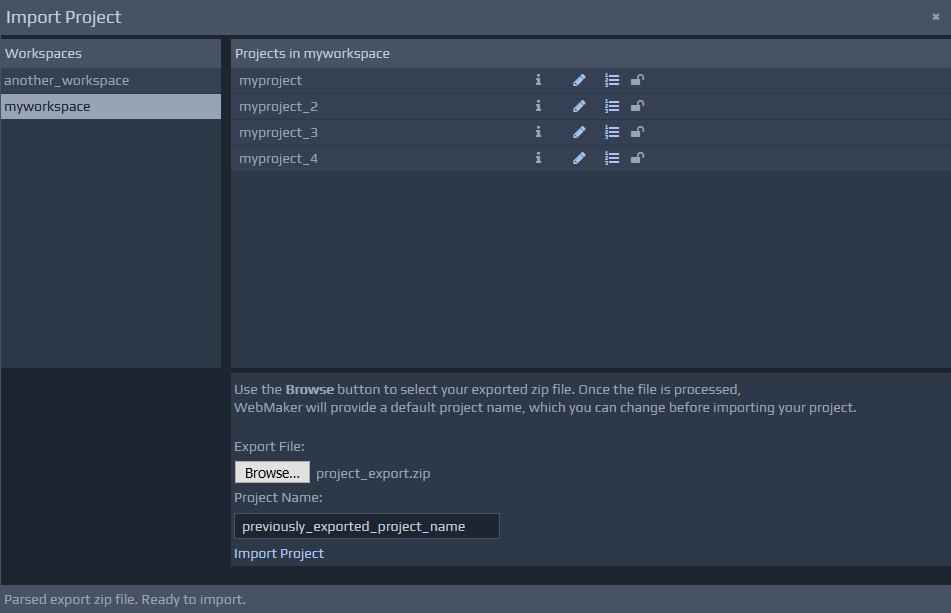 Once you have selected a suitable import file, WebMaker will parse the project information and auto-complete the project name, which can be changed as required. You can also select the workspace on the left, indicating where the imported project should reside.
Managing Project Templates
Whenever you create a new project, it is based on a template. Some templates are included by default but you can create your own templates that can provide a base for future projects.
You can create a template by simply designating any project as a template using the Design | Project Properties menu option or by using a suitable project management screen such as Open Project or Workspace Management. Simply click the Allow this project to be used as a template for new projects check box. This template should now appear as a thumbnail, representing an option for the basis of new projects.

Sharing Project Templates
Project templates are the same as normal projects and can be shared in exactly the same way. Simply create a project based on the template and share the project using the Team menu item. See later section on Sharing and Collaboration.